Replacing drywall is a more standard home repair than many people might initially think. Drywall runs the length of your home’s interior, and it’s the miracle surface that separates the bones of your home from the luxurious space that you see and relax in on a daily basis. Likewise, drywall provides your property with the ability to hang pictures with ease, alongside many other functions.
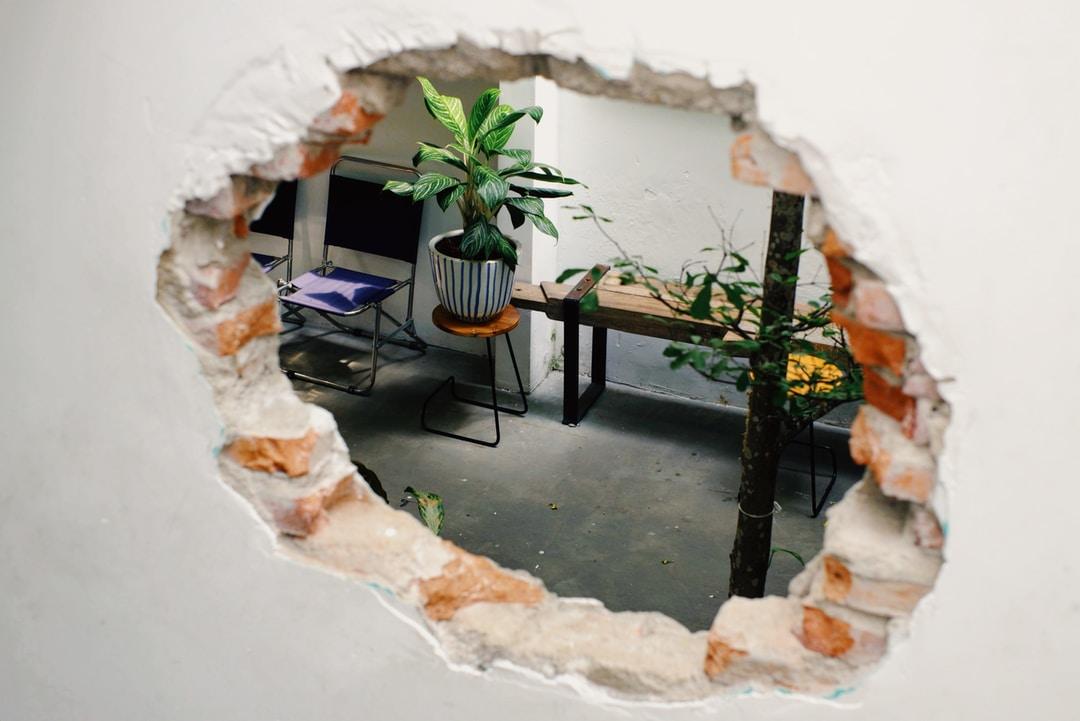
The average home has likely seen a hole in the wall, though. Many families with younger children know that playtime can easily be interrupted when an overzealous child accidentally lets a heavy toy fly through the air, crashing into the wall with a huge thump. Often, drywall can take a beating without letting you know it, but corners of metal objects, shoulders (after a running trip down the hall, for instance), and many other routine bashes and scrapes can leave the home with an unsightly hole in the wall. This leads homeowners to the inevitable question of how to replace a section of drywall with simplicity and effectiveness.
In this article, you’ll learn the basics of drywall replacement and repair.
Drywall repairs can often be made with a patch.

For small holes in the wall, utilizing a utility knife to scrape out a clean edge can give you an understanding of the scope of the repair required. Damaged drywall requires repair quickly because moisture can seep into the studs, attic, or other components of the home if the hole is left to its own devices for a long period of time. Likewise, moisture, debris, and other irritants like pests can creep into the living space that you enjoy without a proper drywall patch to repair the section of drywall that has taken a knock or been subjected to water damage.
For holes or damaged sections that are 5 inches or smaller, a patch using drywall repair putty is easy and highly effective. For this approach, you’ll want to clean the area and then begin to apply the first coat of solution to the space, ensuring that you don’t leave any ridges that will alert viewers to the problem area later on. For small holes, this is as simple as using a spackle edge or other smooth object to smear the spot with your patch material. Other holes that are larger may require some backing material to hold the fix in place and offer support.
Larger problem areas will require a new section of drywall altogether.

For anything that is larger than a few inches (as a result of water damage or a significant impact, for instance), you will want to cut away the damaged section and replace it with a new drywall element. The beauty of this type of siding is that it provides excellent rigidity and support but won’t force you to go through any extended process of tearing away wood or other heavy material in order to repair an issue.
Cutting the damaged section away until you find the studs is crucial here. You’ll need a piece that is larger than the damage because your new section will need to be fastened to the wooden studs that lie just behind the drywall outer layer. Using drywall screws is recommended because they are specifically fabricated for the hold that these construction materials require. Simply cutting your new drywall patch to size and fastening it into the wall will finish the first step of the process. From there you’ll just need to spackle the area to match the texture around its perimeter and then paint the new segment to complete the job.
Start on your repair work today!