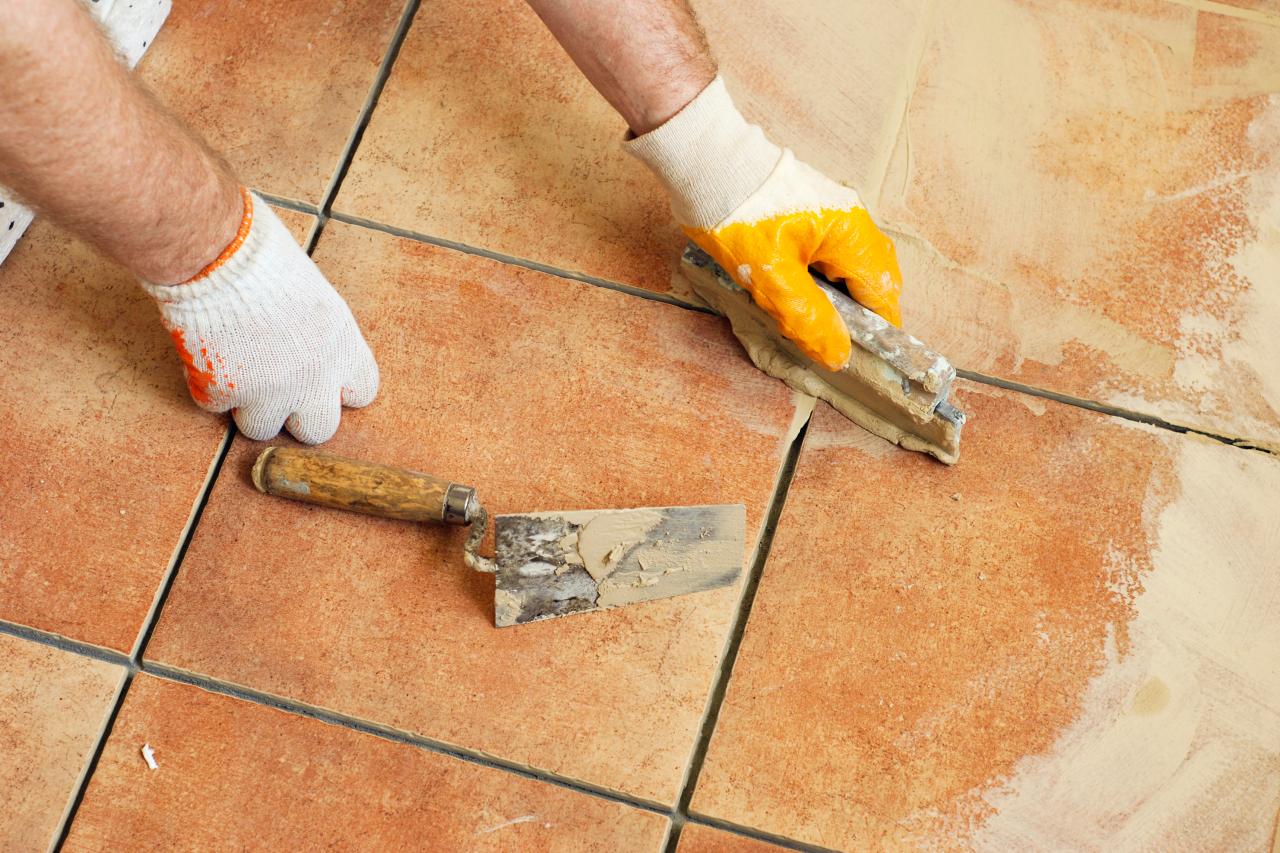
Tiling may appear to be a difficult job, but with the proper tools and expertise, it’s something that a do-it-yourselfer can accomplish.
Grouting in bathrooms and around sinks can become stained and dingy with time, especially if water damage causes the grout to appear dirty and old. Grouting or regrouting your tiles can make a huge difference in the look of a space. It’s easy to see why many people think grouts and regrouts are the greatest invention since sliced bread! The equipment is also really easy to get these days with the likes of ADA Fastfix supplying grouting materials. If you want to refresh an entire room, it may be time for a change.
How To Grout Your Tiles
When it comes to grouting floor or wall tiles, the timing makes all the difference. The good news is that regardless of the sort of tiles you’re dealing with, the technique is roughly the same. Grout is used to sealing the gaps between tiles throughout the whole area.
Get Your Tools Together
It’s time to grout the tiles after they’ve been set. A tile cutter and the correct sort of grout for the space are among the tools you’ll need.
Grout comes in three varieties: wall grout, which is unsanded; floor grout, which is sanded; and specialized grout, which is an epoxy formulation. For the most durable effect, be sure the grout you choose is meant for the space you’re tiling – it will go between the tiles more effectively and require less effort to maintain.
Add-In Additives
There are also additives to specific types of grout that will enable them to function better in certain conditions, such as fungicides and mould repellents for bathroom tiling, additives to increase tile flexibility, and even hues for aesthetic appeal.
Mix Carefully
If you make your own grout, it will be simpler to work with than a pre-mixed grout that is more rigid and difficult to push into the joints. Powder grouts may be prepared by hand in a small container and trowel, but if you’re mixing a larger amount, a paddle and electric drill can help you speed up the process.
Two buckets should be readily accessible – one for combining your grout, and another to clean your sponges in. Follow the directions on the packet; most grouts need a 1:1 to 1:3 ratio of water to powder – and slowly pour in the powder, stirring until you’ve achieved a smooth, creamy texture. The grout should be workable but not runny.
Apply To The Tiles
Use a clean paintbrush to dab a little bit of grout onto the tile grouter and press it into the cracks, making sure they’re completely filled and covered. If there’s any extra, scrap it off so you don’t lose the grout needlessly. Keep an eye on the grout in the areas you’ve already grouted; don’t let it dry out and harden since this will make later removal more difficult.
When you’re done grouting, use a clean, wet sponge to wipe over the tile and joints to eliminate any leftover grout. It should be firm enough to wipe off with little effort yet soft enough not to be fully hardened. If you push too hard, the sponge will simply remove the grout from the joints, so it’s all about finding the correct balance. Allow the grouting to fully dry before wiping away any dust with a wet cloth and going over your grout lines with a scraper to level them out.